IIS configuration
Quick reference guide to configuring IIS
| Follow these steps to configure IIS (Microsoft's Internet Information Services): |
|---|
| 1. Check - Before you start, check if your systems meet the prerequisites. |
| 2. Application Pool - Create an Application Pool in IIS. |
| 3. Application Pool Identity - Create an Application Pool Identity in IIS. |
| 4. If necessary: Restart the application - Do this every time the application directory has been changed. |
| 5. Security - Take the necessary measures in IIS to protect your application and organization. |
| 6. Performance - Optimize your application's performance with IIS. |
| If necessary: Troubleshooting |
Prerequisites IIS
A number of prerequisites needs to be met before IIS can be configured for use in the Thinkwise Platform:
| Required | More information |
|---|---|
| IIS | See the Lifecycle policy for the supported versions. An IIS version is included with the standard installation of Windows on a server or PC. Different versions of IIS are released with the different versions of Windows. Checking the installed IIS version can be done by typing http://localhost in the web browser, the IIS version screen will then be displayed.  IIS 8 welcome page |
| .NET Framework 4.7 | See the Lifecycle policy for the supported versions for running an ASP .NET application. To check which version has been installed: https://docs.microsoft.com/en-us/dotnet/framework/migration-guide/how-to-determine-which-versions-are-installed. If the web server has no .NET Framework or a lower version than supported, then use the following link to install the latest version: https://www.microsoft.com/net/download/thank-you/net472. 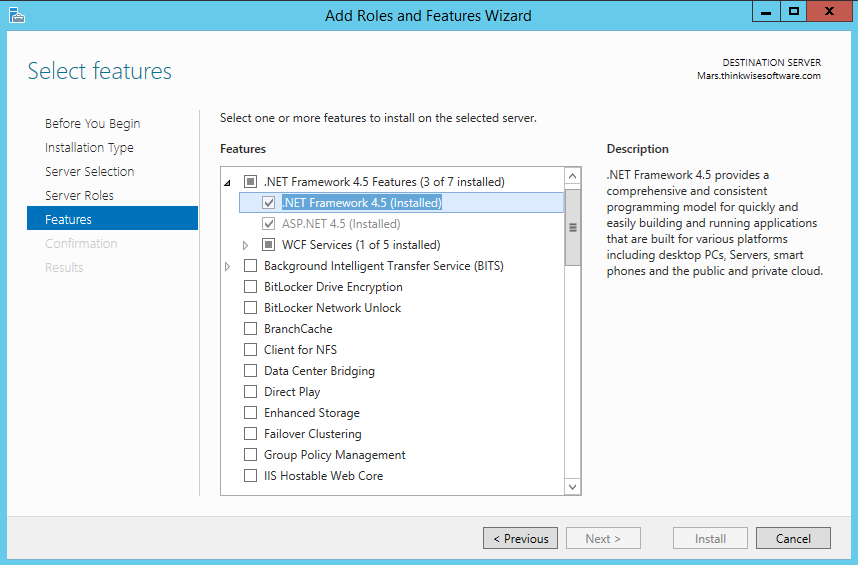 Windows Server 2012R2 |
Configuration
Application Pool
IIS uses Application Pools to run applications and to make configurations for these applications. By using different Application Pools, it is ensured that web applications can function separately from each other. It also ensures that they are not in the way of each other if an error arises with one of the web applications due to a crash or memory problems. Thinkwise therefore advises that a new pool is made in IIS for each Thinkwise Indicium (used by Universal GUI).
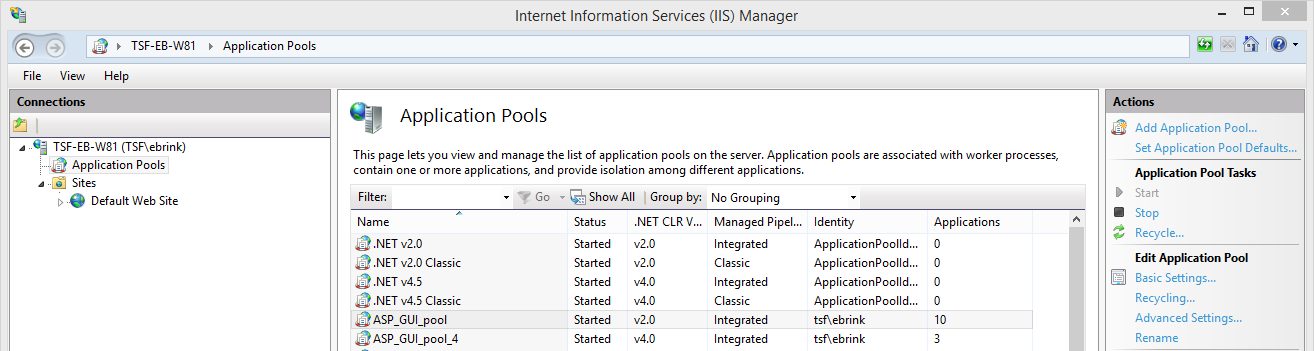 Application Pools
- Name: give the Application Pool a suitable name, related to the corresponding application to which it is going to be connected.
- .NET CLR: for Indicium (used by Universal GUI): select 'No managed code'. See: Indicium deployment.
- Managed pipeline mode: set this to 'Integrated'.
 Add Application Pool
Press OK to create the Application Pool.
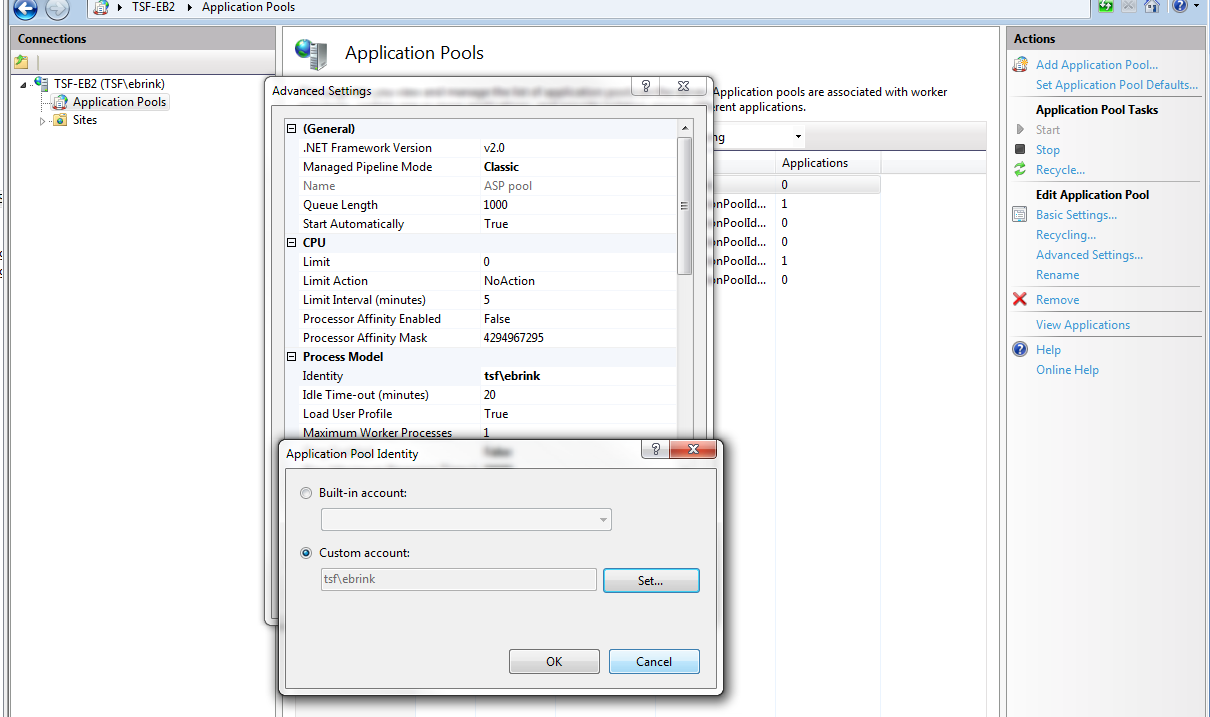
Application Pool Identity
The Application Pool Identity is also used to access files in the network. This could include, for example, images and icons that the application uses or report files. To do this:
***Advanced Settings > Process Model > Identity ***
- Specify a domain user that has rights to the locations of the used files. If access to the network is not needed, then the default identity suffices.
- For Indicium (used by Universal GUI), see: Indicium deployment.
 Assign Application Pool Identity
(Re)starting the application
Restarting is necessary after the contents of the Application Directory have been changed or if there are problems with the application. After a restart, the application will start up again with a clean slate, but users will lose the session in which they were working and will need to log in again. Therefore Thinkwise recommends preventing this as much as possible in production environments while users work with the application.
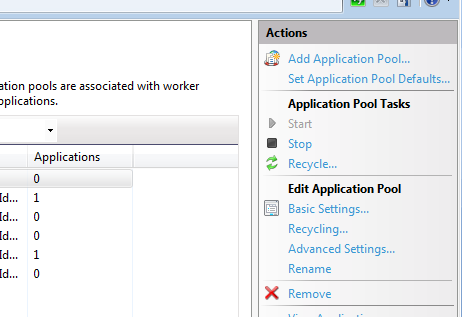
Restarting the application can be done via the Application Pool overview:
- Select a pool and click Recycle... in the Actions bar on the right.
 Restarting the Application Pool
Security for an on-premise deployment
For general information about setting up security, see Security
Performance and tuning
Compression
In order to limit the data traffic and, by extension, improve the performance, we strongly advise that Dynamic Content Compression is turned on in IIS. Less data traffic means that the end user will be able to see the result of the executed action more quickly. This functionality must first be installed before it can be used. This can be done by enabling it in Windows Features.
 Dynamic Content Compression enabled
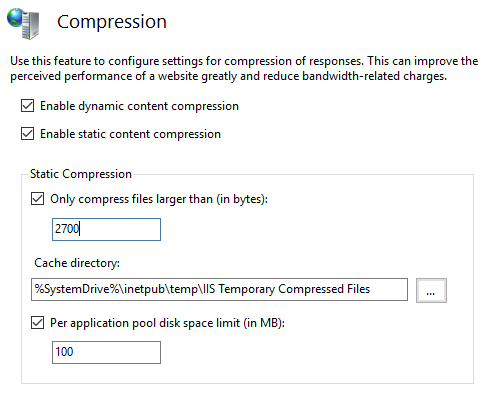
After installing the Dynamic Content Compression, the functionality in IIS can be turned on for specific applications.

Ensure that both dynamic and static compression are on. Then restart the Application Pool.
 Compression
For Static compression, it can be further specified wat and how much may be compressed. The default settings are sufficient for Thinkwise applications.
Idle time of the Application Pool
By default, IIS stops an Application Pool if it is not used for more than 20 minutes. This Idle time setting can be set on 0 to turn this off. This is especially important for mobile devices with offline data. If the service layer can go off, then the application has lost its memory and thus also its caches.
Thinkwise advises that the Idle time is set on 0 because the first user who accesses the application after this will always have to wait for the application to start up. Depending on the size of the application, this extra waiting time can vary from half a minute to two minutes.
This can be set up on the Application Pool in IIS via Advanced settings > Process model > Idle Time-out.
Automatic recycling of the Application Pool
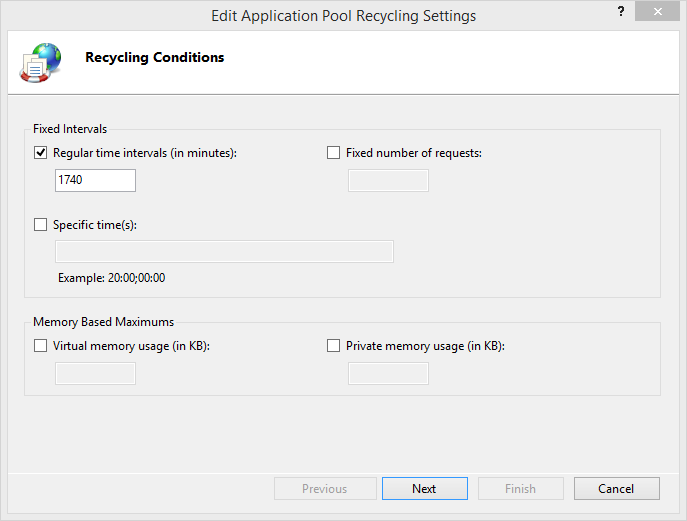
By default, IIS recycles an application every 1740 minutes (29 hours) in order to prevent potential problems in the application or server. This means that logged-in users will lose their session and have to log in again. Thinkwise advises that recycling be done at a fixed time, for example, daily or weekly at 03:00.
Why 29 hours? Wade suggested 29 hours for the simple reason that it is the smallest prime number over 24. He wanted a staggered and non-repeating pattern that does not occur more frequently than once per day. In Wade's words:'you don't get a resonate pattern'. The default has been 1740 minutes (29 hours) ever since! (Source: https://weblogs.asp.net/owscott/why-is-the-iis-default-app-pool-recycle-set-to-1740-minutes)
This setting can be configured by clicking on the Application Pool in IIS and then right-clicking on the Recycling button.
 Recycling settings
Application initialization
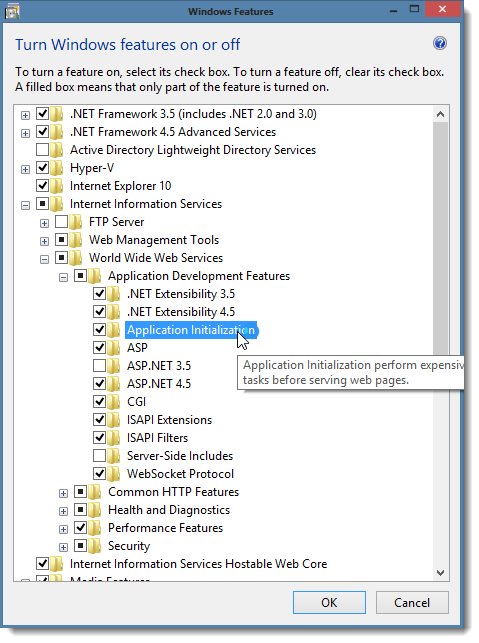
After a manual or automatic recycle of the Application Pool, IIS provides various Application Initialization options to prepare and "warm up" the application before the first user sends a request. This way, the first request is just as fast as all other requests. You can enable the Application Initialization feature through Windows Features.
 Enable Application Initialization
See http://www.iis.net/learn/get-started/whats-new-in-iis-8/iis-80-application-initialization for more information. Recycle the Application Pool in order to use the changes.
Start mode
On the Application Pool, the Start Mode can be set up on AlwaysRunning instead of OnDemand.
Preload
On the application in IIS, Preload enabled can be set up on True instead of False.
When enabled, a new Application Pool is started after a recycle and, when this is done, the old pool is stopped. In this way, active users do not need to wait for very long before they can continue. Via Windows' Task manager, what happens to the Application Pools during a restart process can be seen by keeping an eye on the w3wp.exe processes.
Troubleshooting IIS deployment
Errors that have occurred can be found in the Windows Event Viewer in Windows Logs > Application.