Universal user preferences
Users can change the behavior and appearance of the application, such as the theme, localization settings, screen type, and more.
The availability of and the features within the User preferences toolbar depend on the initial user settings, as applied by the administrator in IAM. See User preferences for more information.
Change theme and localization settings
A user can change their preferences in their profile menu > User preferences.
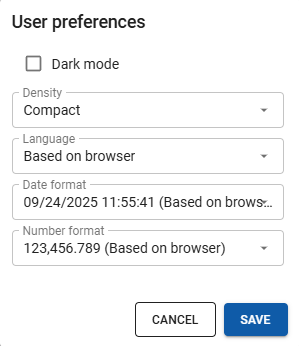
The User preferences screen contains:
- Theme - the option to switch between a light and dark theme. The selected theme is stored in the browser cache and is therefore applied to all applications using the Universal GUI on the same device.
- Density - Compact mode offers less whitespace and more data on the screen. Comfortable mode offers more whitespace and less data, making it more suitable for touch screens.
- Language - If no translations are available for the selected language, the Universal GUI will show the fallback language. See also Application translations. It can take up to one minute for all translations to load.
- Date format - By default, the data and time format is based on the browser. Times in 12-hour format (AM/PM) and Non-Gregorian calendars are currently not supported.
- Number format - By default, the number format is based on the browser.
These settings can also be managed in the application by a user with the appropriate rights. See Add, update, and manage users and Manage users from an application for more information.
 Set up a preferred theme and localization preferences
Subscribe or unsubscribe to push notifications
Users must subscribe to push notifications in order to receive them.
A user can subscribe or unsubscribe to push notifications in the profile menu > [Enable/Disable] push notifications. The user must allow push notifications in their browser.
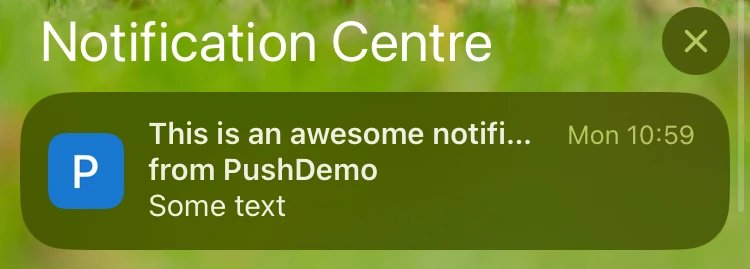 Example of a push notification on a mobile device
Change screen type
If configured, users can select a different screen type for their current screen. The option Screen type is available in the overflow menu of the task bar.
In the popup that appears, users can select another screen type from the dropdown menu. The screen will then refresh, and the chosen screen type will be applied to the current subject.
For each screen type, you can configure its availability. See Allow users to select a different screen type.
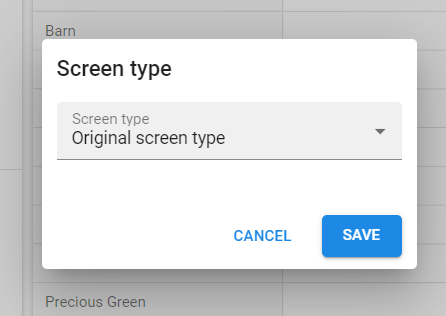 Selecting another screen type
Enlarge or reduce components (splitters)
Components on a screen are divided by splitters, which can be dragged with the mouse to make components larger or smaller. Splitter positions are retained after closing and reopening the screen and refreshing the Universal GUI.
 Dragging a splitter to resize components
Add menu items to 'Favorites'
If configured, users can add menu items to the Favorites group in the List bar and Tree view menu for quick access to frequently used screens.
Users can mark any menu item as favorite by selecting the ![]() next to the menu item.
In the Favorites menu group, menu items can be reordered by dragging them vertically to another position in the list.
next to the menu item.
In the Favorites menu group, menu items can be reordered by dragging them vertically to another position in the list.
See also Manage favorites for a user.
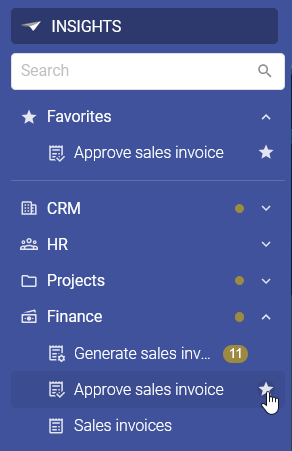 Select the star icon to add a menu item to 'Favorites'
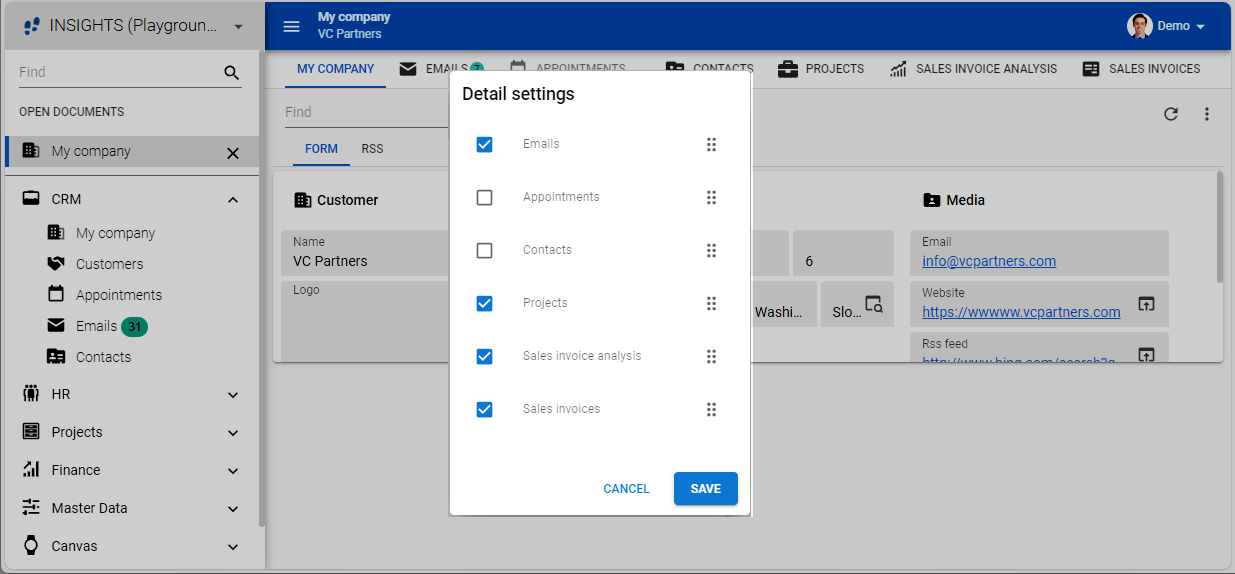
Reorder or hide details
Users have the option to reorder and hide details in tabs and tiles. The option Details is available in the overflow menu of the task bar.
In the popup that appears, users can:
- Reorder the detail screens by dragging them to another position in the list.
- Hide a detail screen by clearing its checkbox.
The screen will then refresh, and the changes will be applied to the current subject.
 Reordering and hiding detail screens
User preferences for pivot tables
Users can:
- Change the fields, series, categories, and values (if the screen contains a Cube panel screen component).
- Change the sort order of the dimensions by selecting the option Sort in the Cube view section of the overflow menu. The dimensions can be sorted Ascending or Descending by their display value or a value in the cube view.
- Save their custom cube view, including set filters, by selecting Save as cube view from the overflow menu. They can enter a name for the cube view and select the default view type (pivot table or chart). The saved cube view will show next to the model cube views.
- Delete a custom cube view by selecting Delete cube view <name> from the overflow menu.
Users can navigate the pivot table using keyboard shortcuts. For more information, see keyboard shortcuts
User preferences for charts
In a chart, users can:
-
Do everything that is also possible in a pivot table. See User preferences for pivot tables.
-
Change the chart type and legend by selecting the option Chart from the overflow menu. If a legend is available, the following settings can be changed:
- Horizontal alignment (left, center, right)
- Vertical alignment (top, center, bottom)
- Legend direction (left to right, right to left, top to bottom, bottom to top)
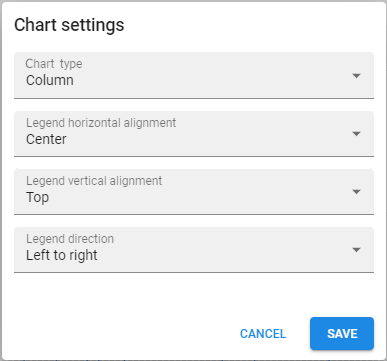 Chart settings
Add, update, and manage users
If configured and available, users can be managed in the application. Users can create new users and update their information, as well as add them to user groups. If needed, users can also update a user's group assignment.
See also, Manage users from an application.
Deleting users or user groups is not possible. Instead, you can set an Ends on date to revoke a user's access to an application.