Menus
Introduction to menus
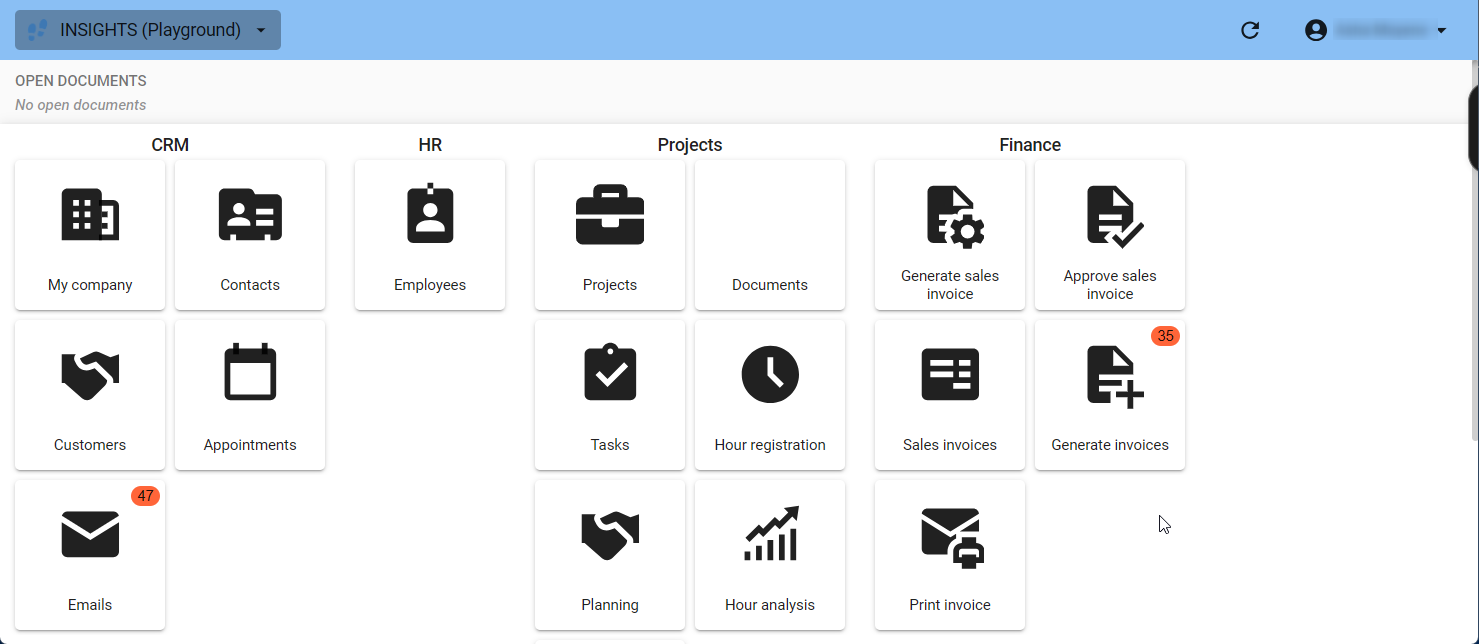
The menu of an application gives access to the screens (tables), tasks and reports of the application. There are three menu types available: a list bar menu, a tree view menu and a tiles menu. It is possible to create different menus for different platforms.
Create a menu
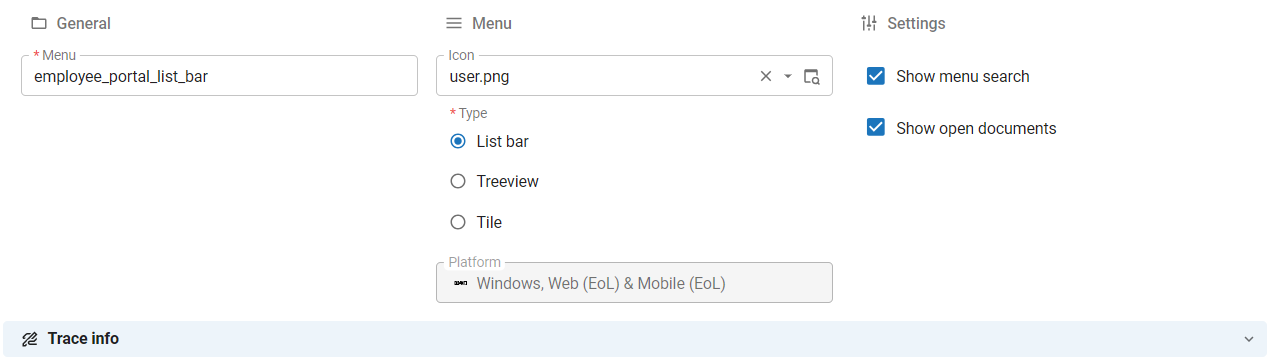
To create a menu:
menu User Interface > Menus > tab Menus
- Enter a name for the Menu.
- If desired, add an Icon to this menu.
- Select the menu Type.
- To add a search field on top of the menu, select the checkbox Show menu search. This is useful if the menu contains many items.
- Universal UI To prevent that open documents are displayed on the top of a menu, clear the checkbox Show open documents. Open documents are stored and reopened when the user logs in again.
 Create a menu
Design a menu
Each menu type has its own nesting structure:
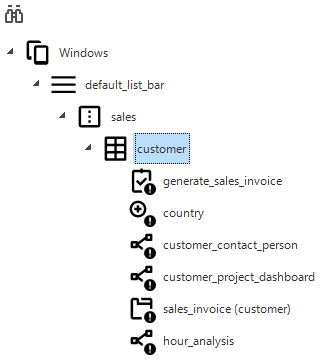
- The List bar menu can have only one nesting level
- The Tree view menu can have unlimited nesting levels in groups
- The Tiles menu can have only one nesting level
To design a menu for your application:
menu User Interface > Menus > tab Design
- Select the task Create (...) group
 to add groups to your menu.
 - Add tables, reports and tasks as menu items to the groups.
- Reorder the groups and items with drag and drop.
All the groups and items you create in the Design tab are also available in the tabs for groups and items. Here, more settings are available, such as icons.
Sizes in a tiles menu
menu User Interface > Menus > tab Design
In the tiles menu, the tile size is shown behind the tile names. To change it, use the tasks. Four sizes are available: small, medium, wide and large.
The user interface will organize the items from top left to bottom right according to the available screen space.
 Tile sizes
Drag-drop in the list bar and tile menu designer
Both the List bar and the Tiles menu can have only one nesting level.
menu User Interface > Menus > tab Design
Use drag and drop to organize the menu items in a list bar and tile menu. You can:
- Drag groups onto other groups. If you drag up, the group is placed before the group on which it is dropped. If you drag down, the group is placed after the group on which it is dropped.
- Drag items onto other groups or onto items of other groups. The dragged items are moved into the group where they are dropped. If you drag up, the item is placed before the item on which it is dropped. If you drag down, the item is placed after the item on which it is dropped.
- Drag and drop items inside their current group. The dragged item is placed before the item on which it is dropped.
Drag-drop in the tree menu designer
The Tree view menu can have unlimited nesting levels in groups.
menu User Interface > Menus > tab Design
Use drag and drop to organize the menu items in a tree menu. You can:
- Drag groups onto other groups. If you drag up, the group is placed before the group on which it is dropped within the parent group. If you drag down, the group is placed after the group on which it is dropped within the parent group.
- Drag groups onto items in other groups. The dragged group is moved into the parent group of the item on which it is dropped. If you drag up, the group is placed before the item on which it is dropped. If you drag down, the group is placed after the item on which it is dropped.
- Drag items onto other groups or onto items of other groups. The items are moved to the group on which they are dropped. If you drag up, the item is placed before the item on which it is dropped. If you drag down, the item is placed after the item on which it is dropped.
- Drag items and drop them inside their current group. If you drag up, the item is placed before the item on which it is dropped. If you drag down, the item is placed after the item on which it is dropped.
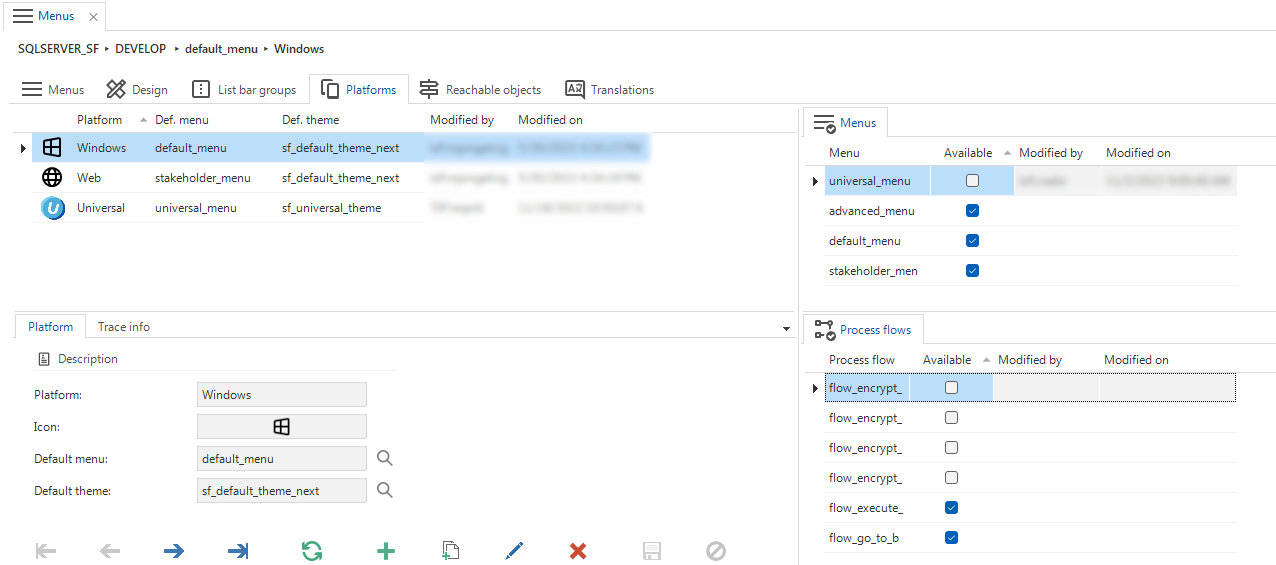
Platforms
In accordance with our Lifecycle policy, the Windows GUI and Web GUI are no longer supported. From Thinkwise Platform version 2026.1 and higher, the Universal UI is the only supported user interface. See Transition to the Universal UI for more information.
For each platform, you can specify which menus are available. In this way, you can create a different, optimized menu for each platform. Further authorization can be set in the Intelligent Application Manager. See Menu rights for a user group.
To make a menu available for a platform:
menu User Interface > Menus > tab Platforms
- Select the platform.
- In field Default menu, select the menu that will be the default menu for this platform.
- In field Default theme, select the theme that will be the default theme for this platform.
- For each available menu, select or clear the checkbox Available to grant or deny access to the menu.
- In the same way, you can specify the availability of process flows.
 link menus to platforms
Overview of reachable objects
An overview is available to see through which routes a specific object, task or report can be accessed. This can be useful when checking authorization, for example, whether a table is accessible that should not be accessible.
To investigate reachable objects:
menu User Interface > Menus > tab Reachable objects
-
Select the task Investigate reachable objects
 .
Here, you can indicate for which platform the shortest path has to be determined to a table, report, task or variant.
.
Here, you can indicate for which platform the shortest path has to be determined to a table, report, task or variant.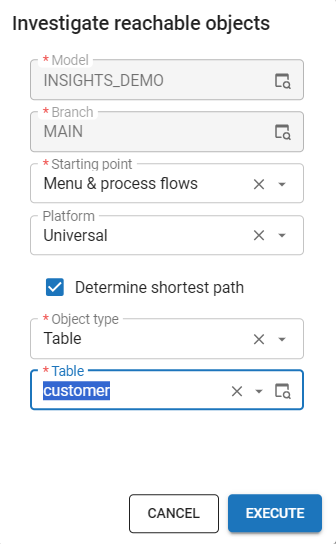 Task to determine the shortest path to an object
The result shows through which steps the object can be accessed.
 The shortest path
 -
Select a table to view information about it. You can change this information.
Additional expand tasks that become available when you select a table:
- Expand 1 level
 - directly expands one level.
 - Expand multiple levels
 - specify the number of levels you want to expand. It is possible to expand to up to nine levels.
However, if a new level would expand the amount of nodes in the tree to more than 1000, the expansion will be stopped at the current level.
- specify the number of levels you want to expand. It is possible to expand to up to nine levels.
However, if a new level would expand the amount of nodes in the tree to more than 1000, the expansion will be stopped at the current level.
 Reachable objects expanded one level