AWS setup
Introduction to AWS setup
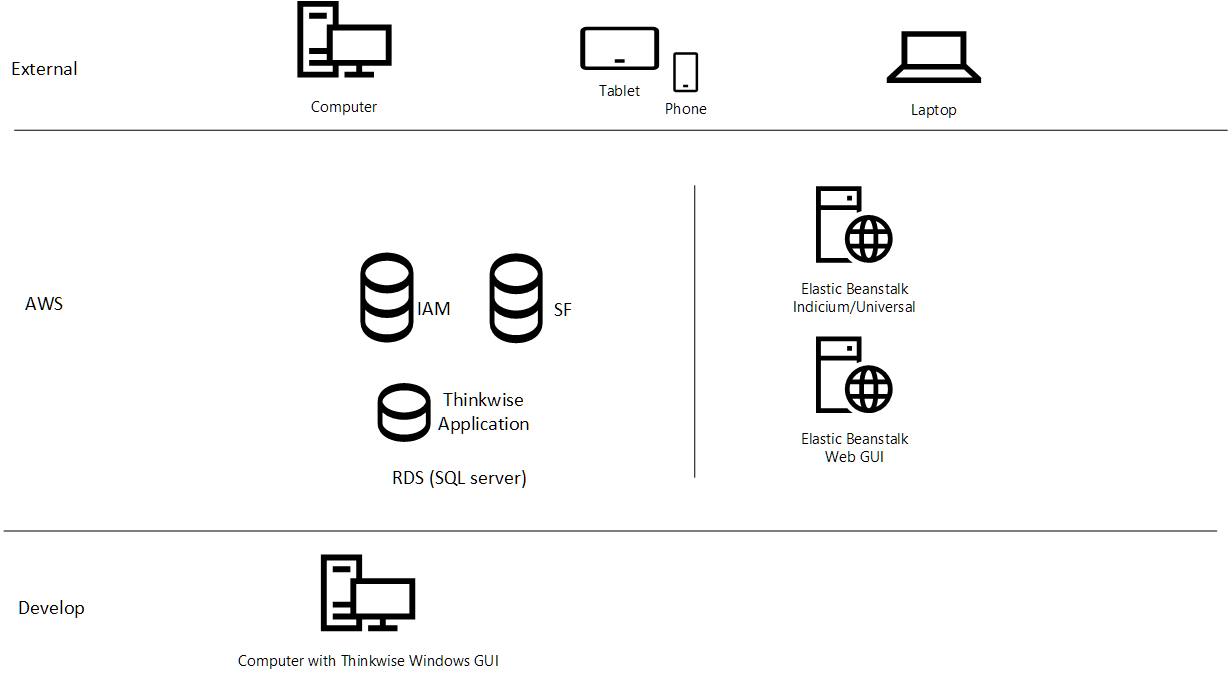
This document provides instructions for setting up an AWS environment for the Thinkwise Platform.
The Intelligent Application Manager (IAM) database and, optionally, the Software Factory (SF) database are installed in an Amazon Relational Database Service (RDS), whereas the Universal GUI and the Indicium service tier are installed on AWS Elastic Beanstalk.
Prerequisites
Prerequisites for deploying the Software Factory and IAM on AWS RDS are:
- An AWS account. You can create one for free here.
- An AWS base environment that has .NET 8 installed.
AWS infrastructure
It is your own organization's responsibility to take adequate security measures for protecting your cloud environment. Thinkwise products have been tested thoroughly, including pen testing, to ensure their security.
- Use AWS RDS for hosting the Software Factory, IAM and the developed application database.
- Use AWS Elastic Beanstalk for hosting Indicium and the Universal GUI or Web GUI.
 Example: AWS
Security settings for AWS
For general information about setting up security, see Security
Create an AWS RDS environment
To create an AWS RDS environment for the SF and IAM databases:
-
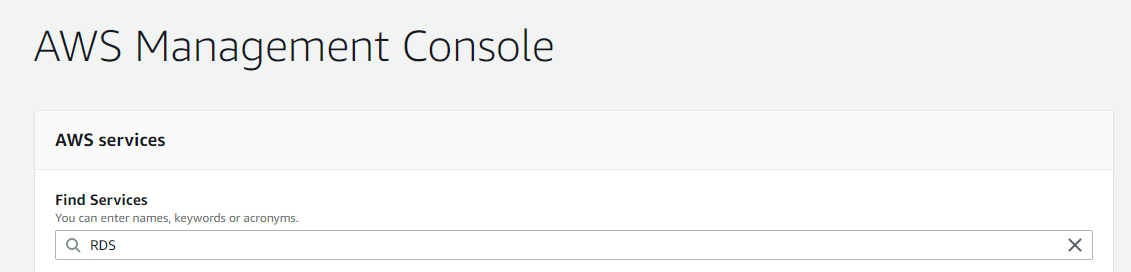
In the AWS Management Console, search for the "RDS" service and click on it to create a new service:
screenshot: Find service
-
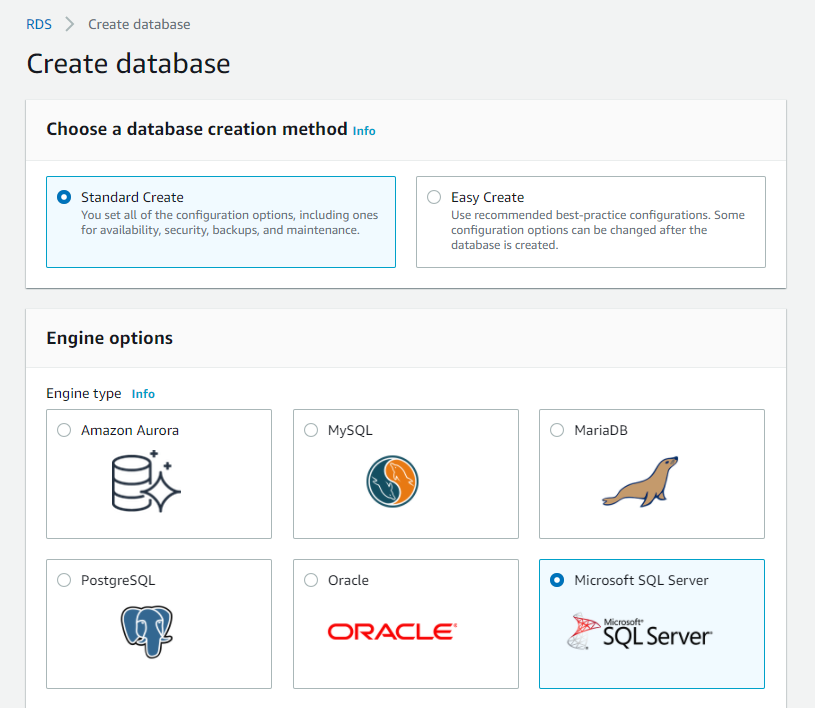
Select Create database to create a new database
screenshot: Create database

-
Select Standard create and the Microsoft SQL Server engine type.
screenshot: Standard create
-
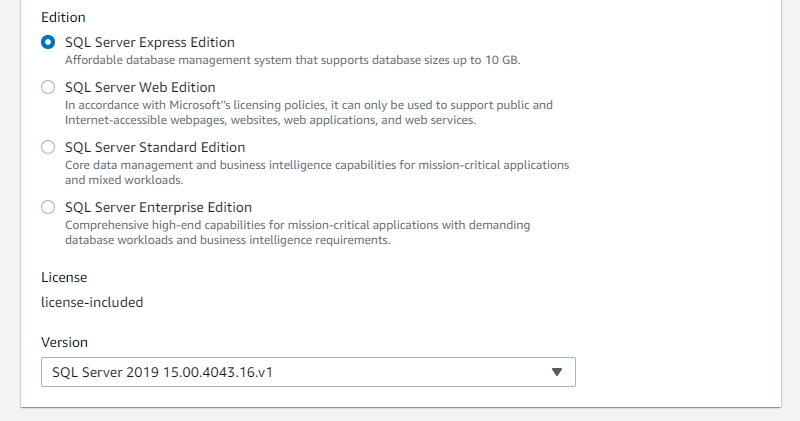
Select the required SQL Server edition, for example SQL Server Express Edition, and the latest available version.
screenshot: Select SQL Server edition
-
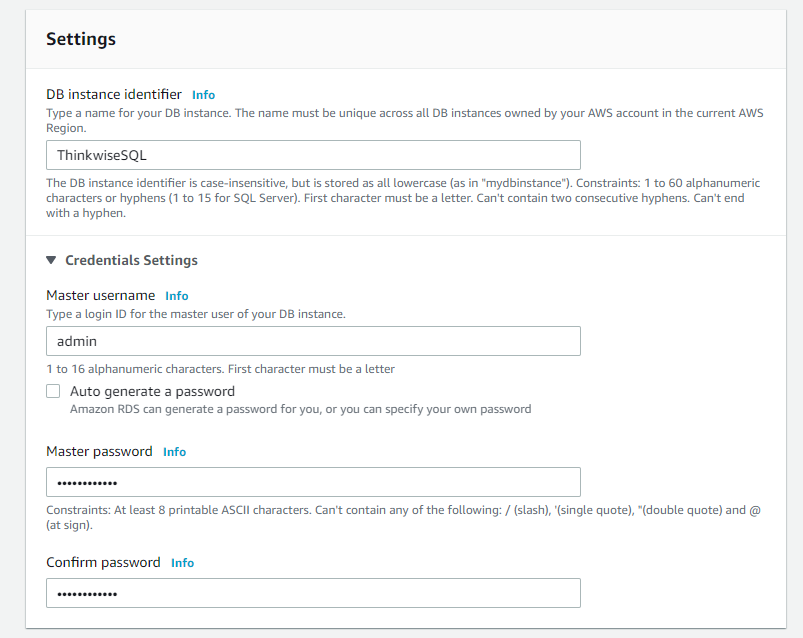
Fill in the DB instance identifier and the Master username and Master password.
screenshot: Identifier, user name, password
-
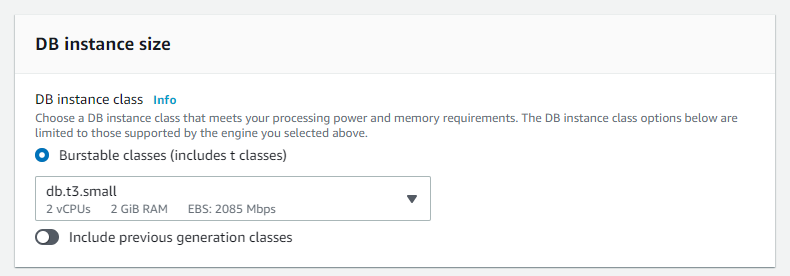
Select the required DB instance size.
screenshot: Instance size
-
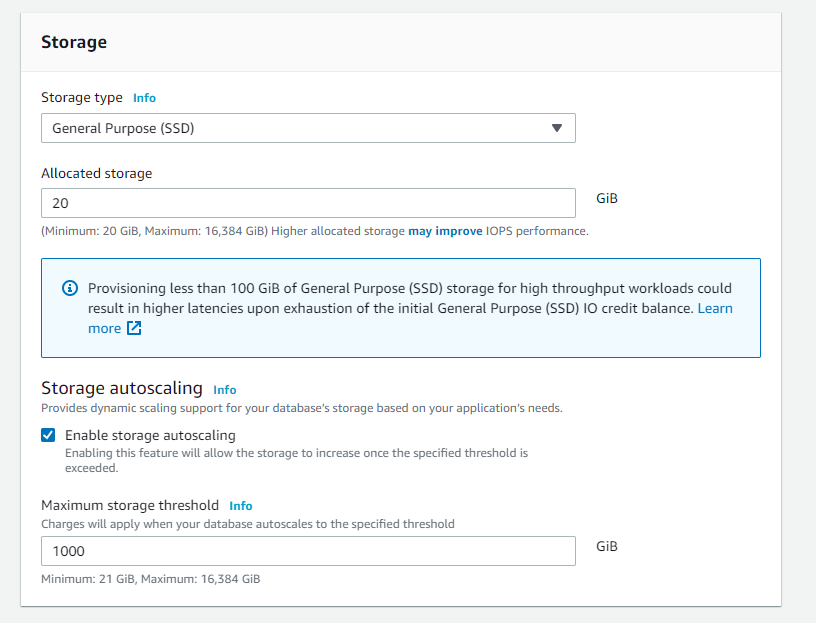
Select Storage type and fill in the Allocated storage and Autoscaling options*.*
screenshot: Storage
-
Select Create database to create the database. This may take some time.
screenshots: Create database


The RDS environment is now ready.
Deploy the Thinkwise IAM database
To deploy the Thinkwise IAM database for end-applications:
-
Download the Thinkwise Installation package from the Thinkwise Community Portal. For more information, see Getting started in the Thinkwise Deployment Center guide.
-
Select Install on the IAM product page.
-
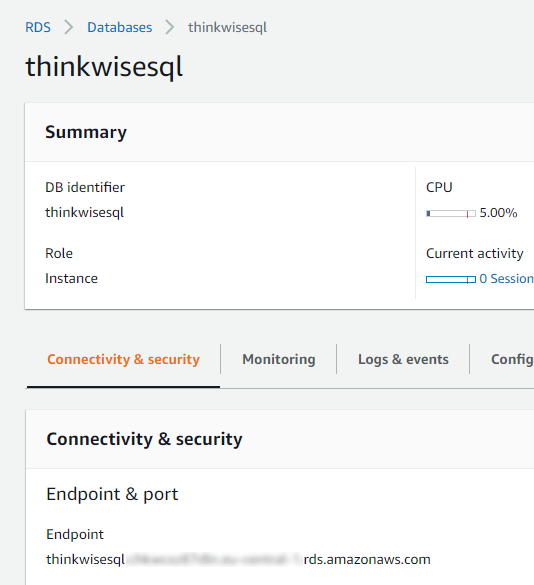
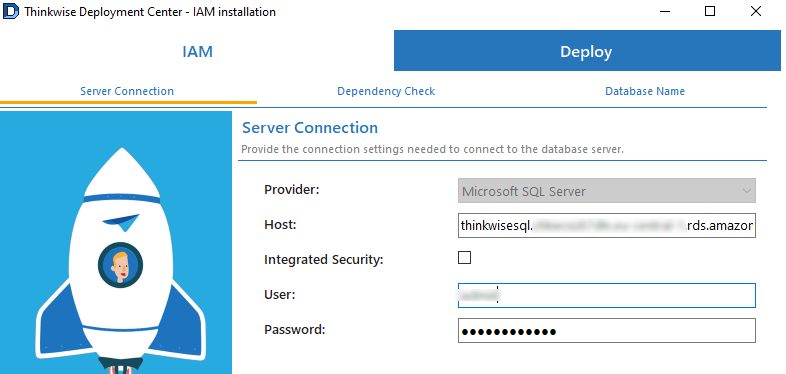
On the tab Deploy > Server Connections, enter the server connection options. You can find the hostname in the AWS console under Connectivity & security - Endpoint. Use the credentials provided when the RDS environment was created.
screenshot: Credentials in AWS
screenshot: Credentials in in the Thinkwise Deployment Center
-
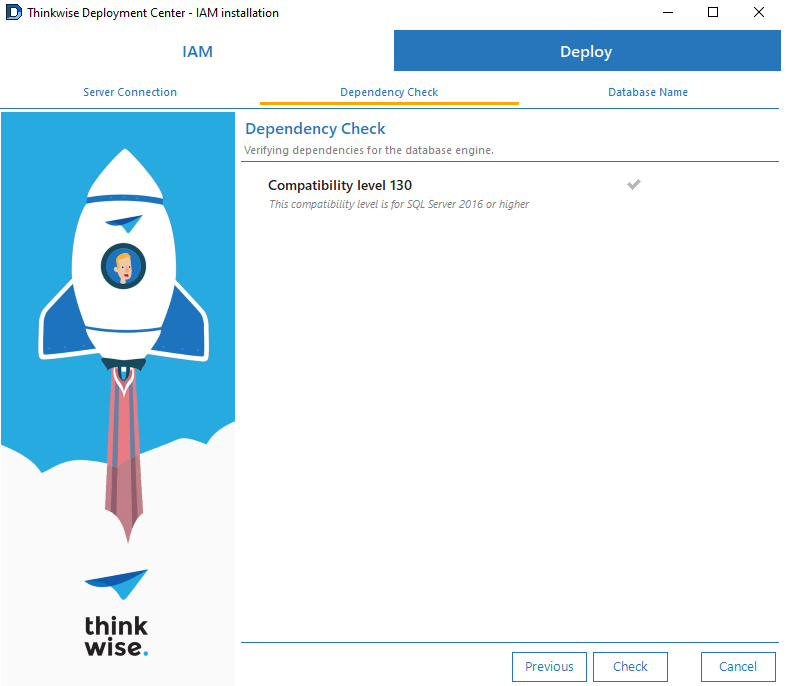
On the tab Deploy > Dependency check, click the Check button.
screenshot: Dependency check
-
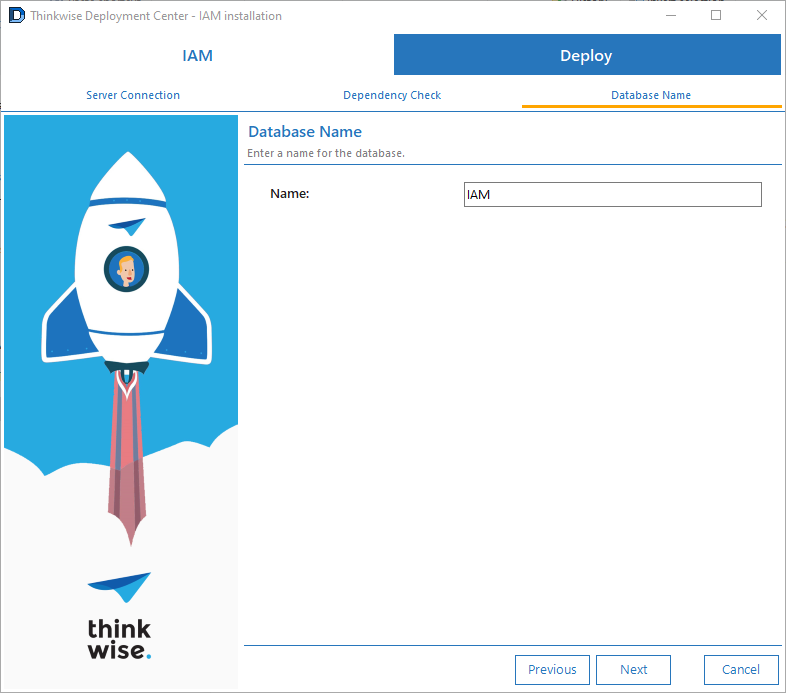
On the tab Deploy > Database name, enter the name of the IAM database that you want to create and click Next.
screenshot: Database name
-
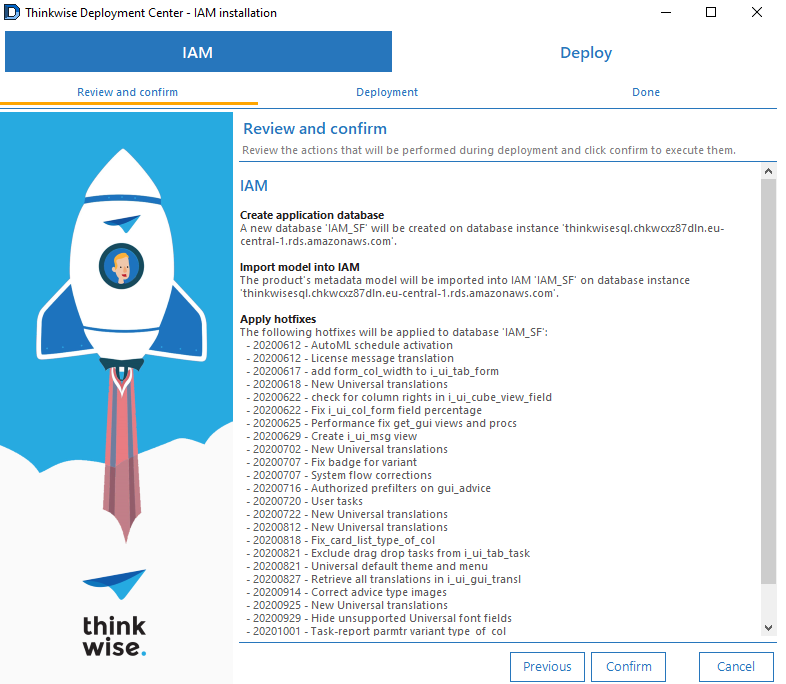
On the tab IAM > Review and confirm, click Confirm.
screenshot: Review and confirm
The IAM database will now be created in the RDS environment.
screenshot: Database created
Deploy the Thinkwise Software Factory database (optional)
It is possible to install the Thinkwise Software Factory development environment on AWS.
As the Software Factory also needs an IAM database, first deploy an additional IAM database by following the steps from
the previous chapter, and name this database IAM_SF.
Next, deploy the Software Factory database:
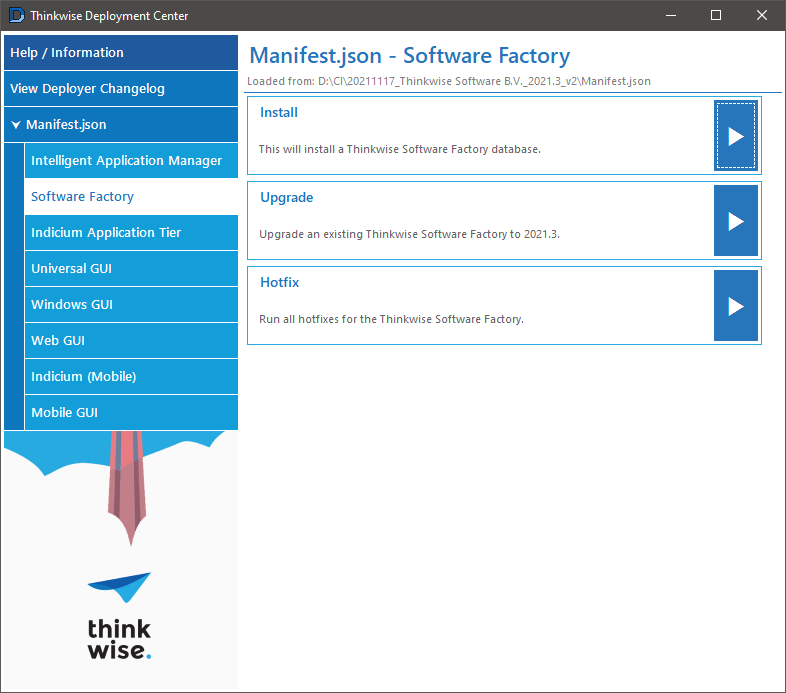
-
Select Install on the Software Factory product page.
screenshot: Install
-
On the tab IAM > Server connection, enter the server connection options and click Connect. You can find the hostname in the AWS console under Connectivity & security - Endpoint. Use the credentials provided when the RDS environment was created.
screenshot: Server connection
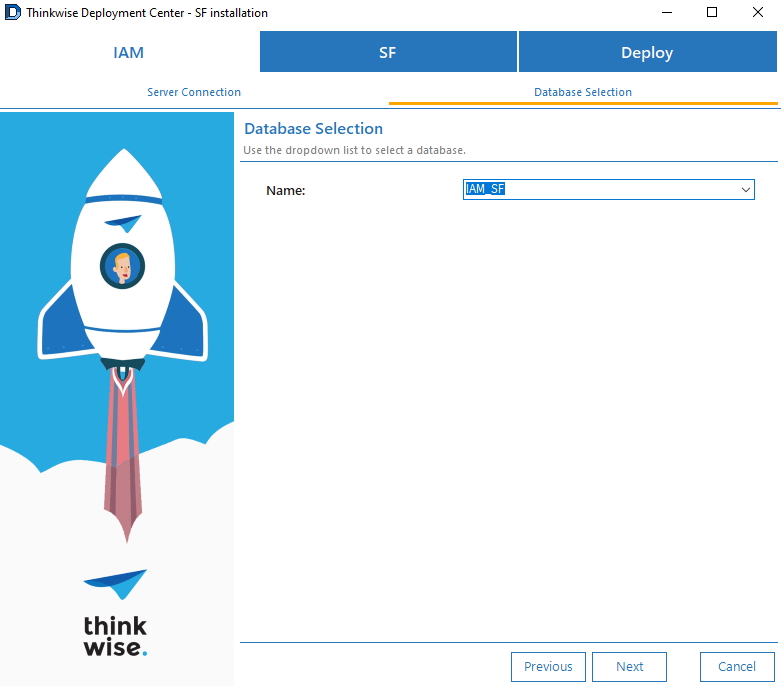
-
On the tab IAM > Database Selection, select the previously installed IAM database and click Next.
screenshot: Select a database
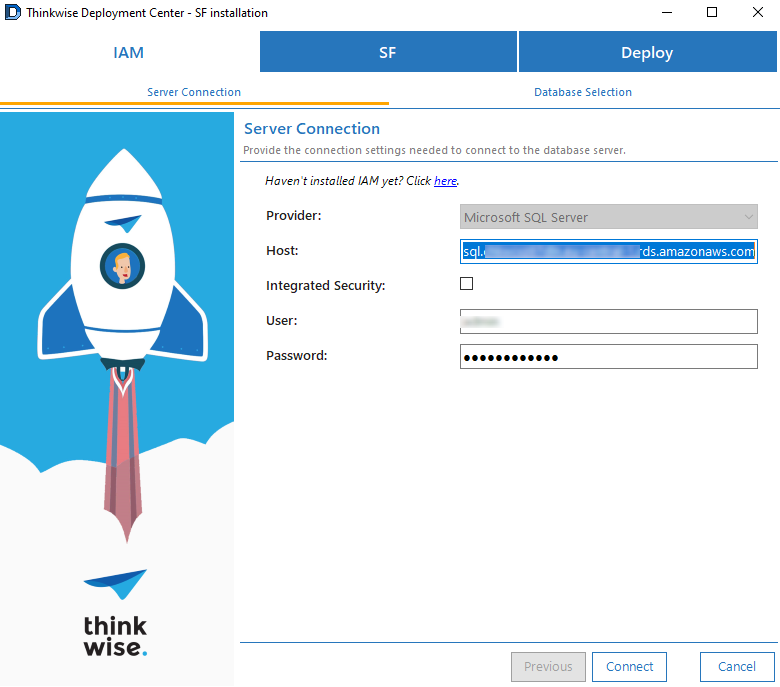
-
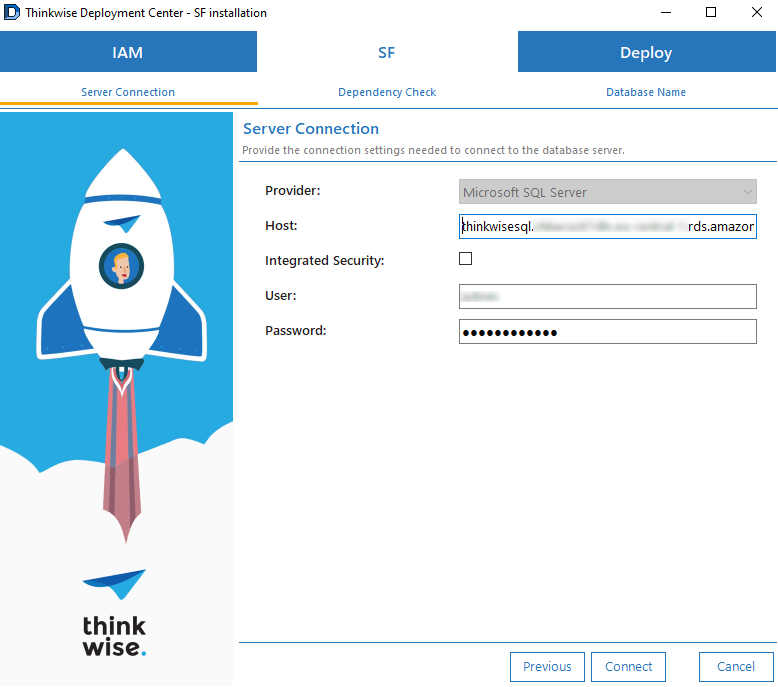
On the tab SF > Server connection, use the same host and RDS credentials as IAM for the Software Factory database and click Connect.
screenshot: Software Factory credentials
-
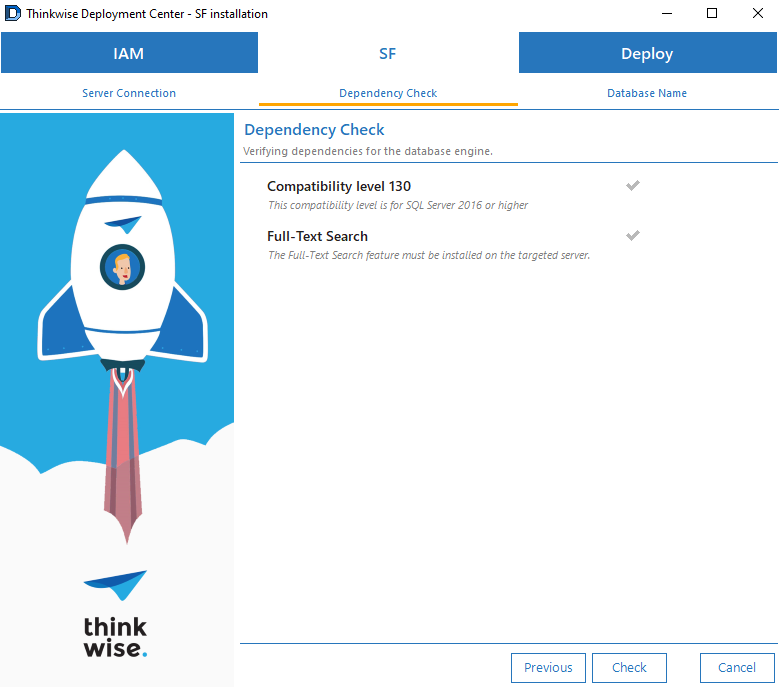
On the tab SF > Dependency check, click Check.
screenshot: Dependency check
-
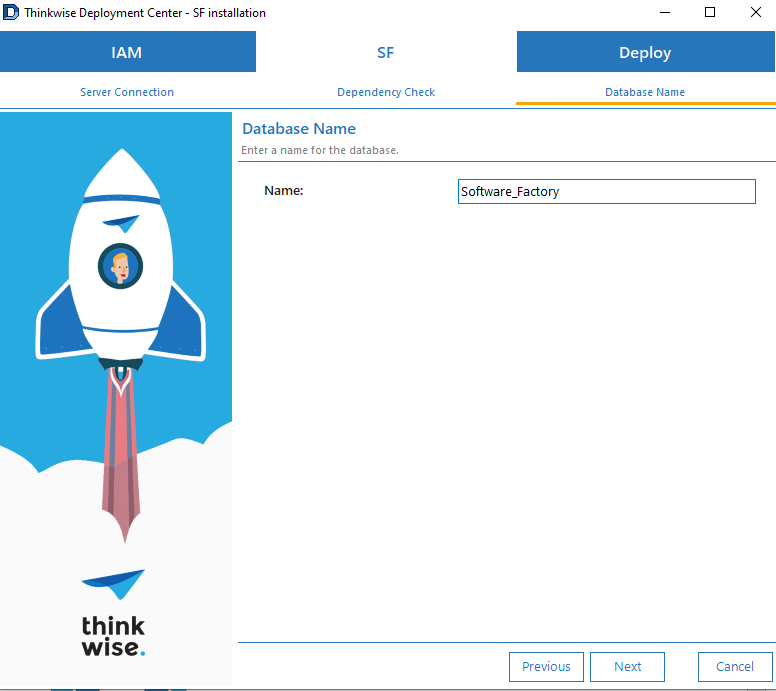
On the tab SF > Database name, enter the Software Factory database name and click Next.
screenshot: Database name
-
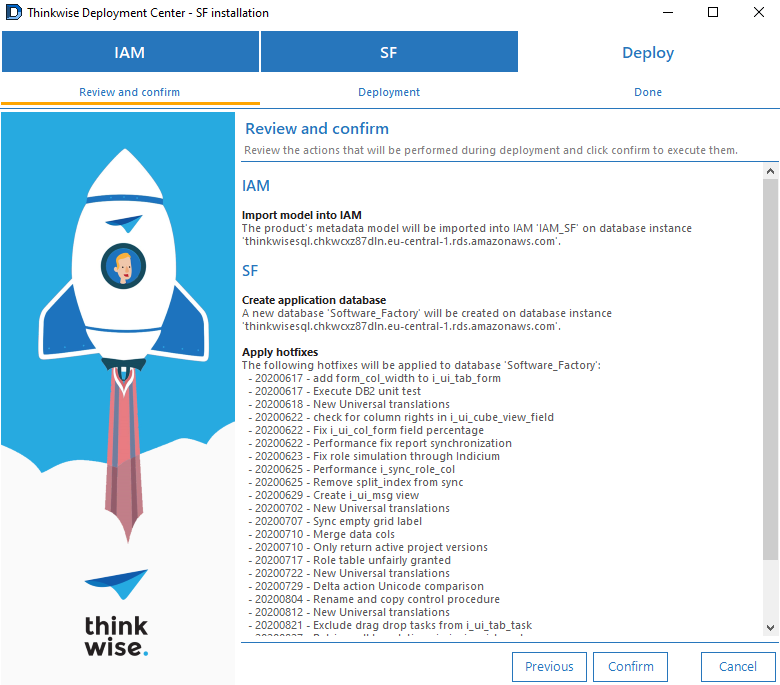
On the tab Deploy > Review and confirm, click Confirm.
screenshot: Review and confirm
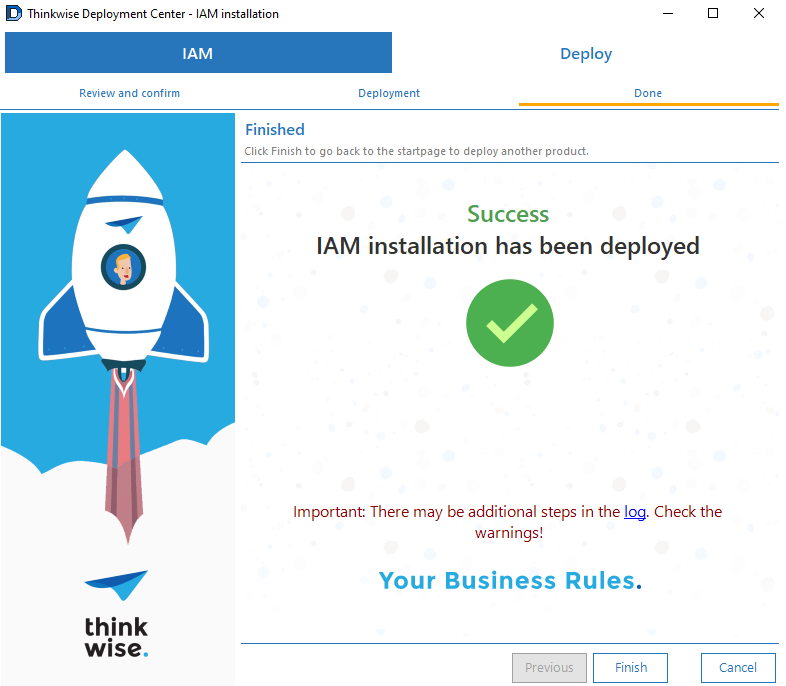
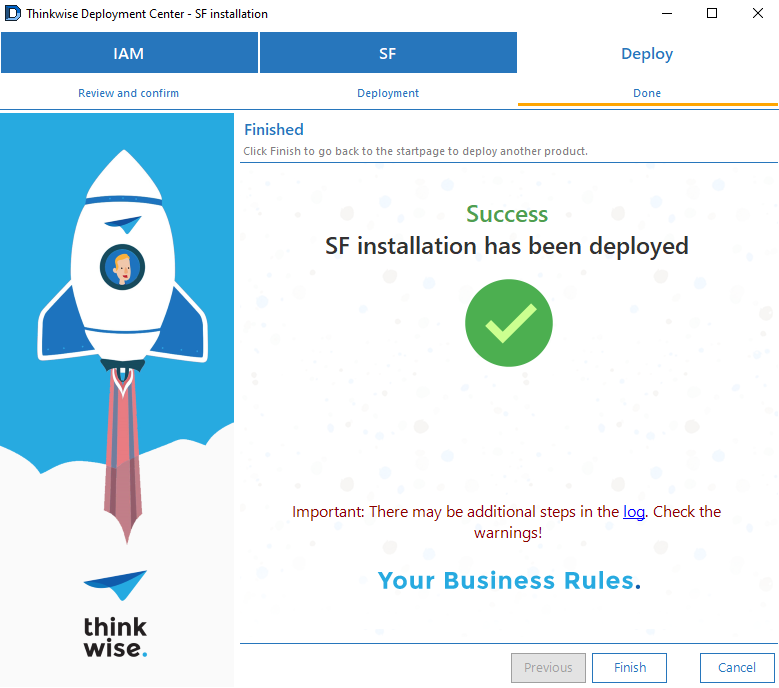
The SF database will now be created in the RDS environment.
screenshot: Installation deployed
Create an AWS Elastic Beanstalk environment
To create an AWS Elastic Beanstalk environment to host the Thinkwise Universal GUI and Indicium service tier:
-
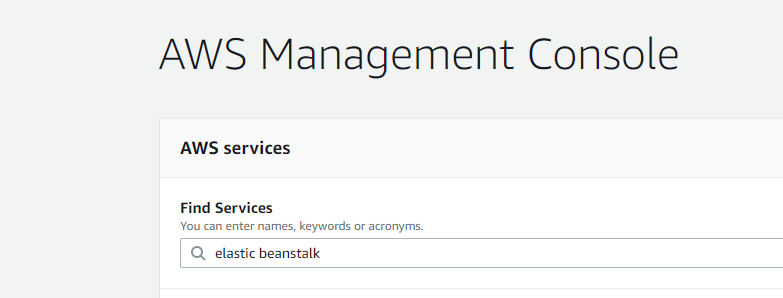
In the AWS Management Console, search for the "Elastic Beanstalk" service and click on it to create a new service:
screenshot: Search
-
Click Create a new environment.
screenshot: Create a new environment

-
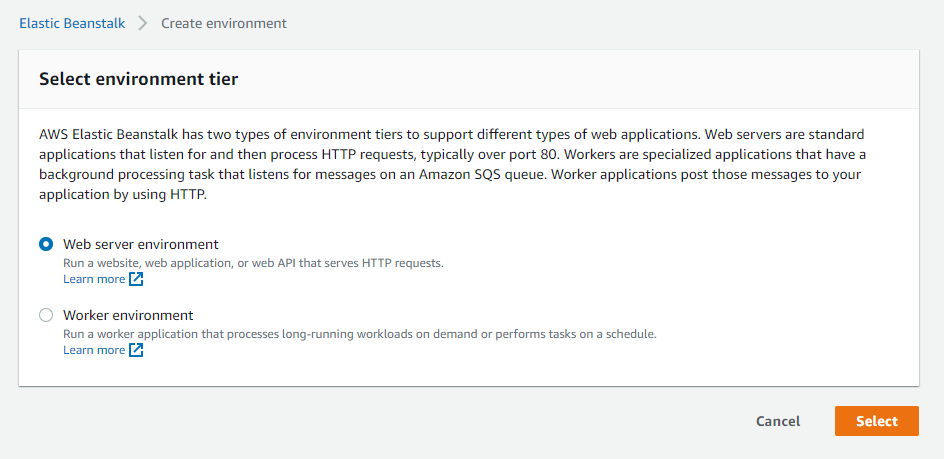
Select Web server environment and click Select.
screenshot: Select Web server environment
-
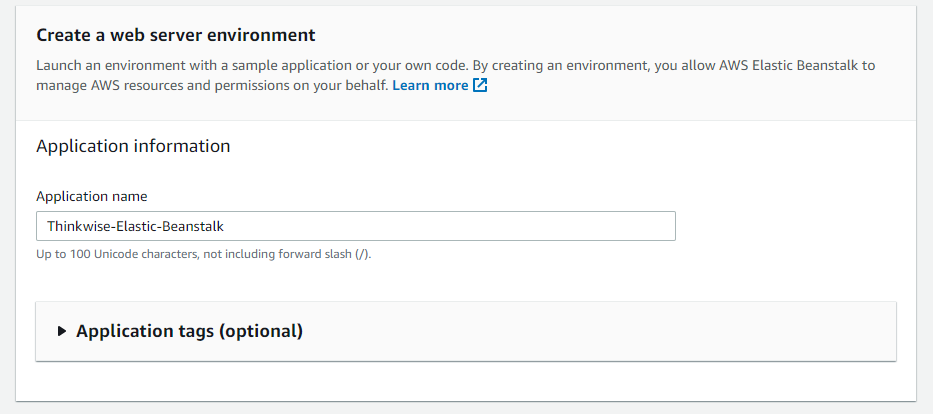
Enter the Application name.
screenshot: Application name
-
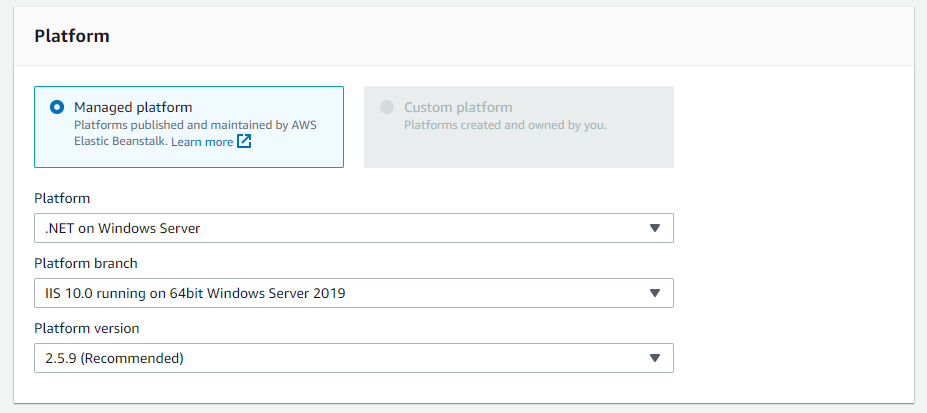
Configure the platform using the following settings:
screenshot: Configure the platform
-
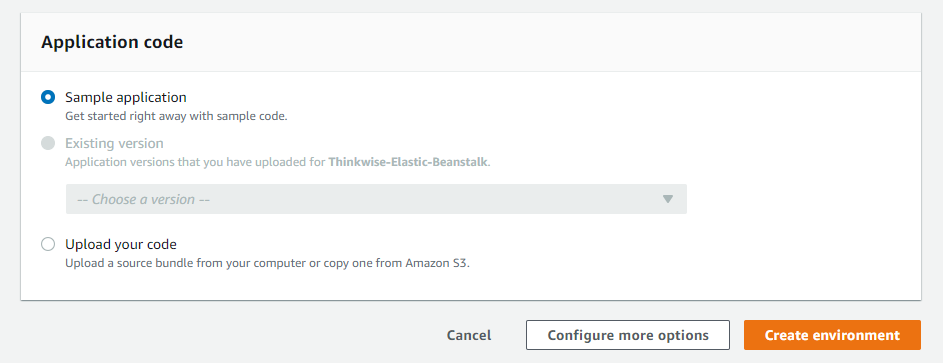
Select Sample application and click Create environment.
screenshot: Create the environment
-
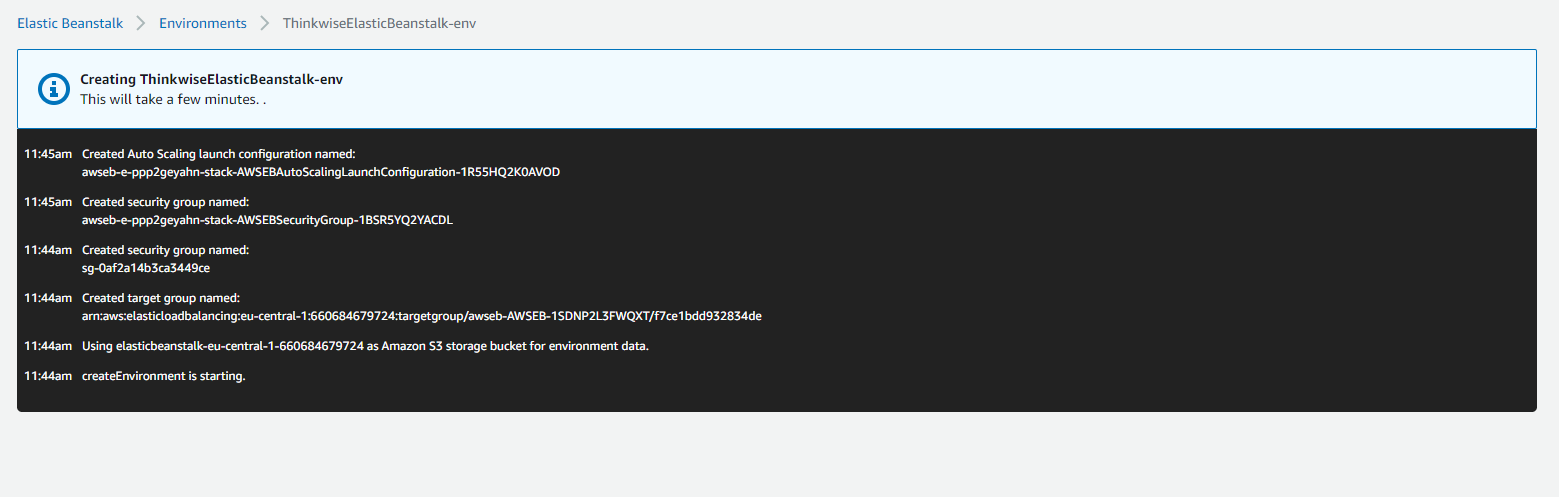
The Elastic Beanstalk environment is created. This may take some time.
screenshot: Environment created
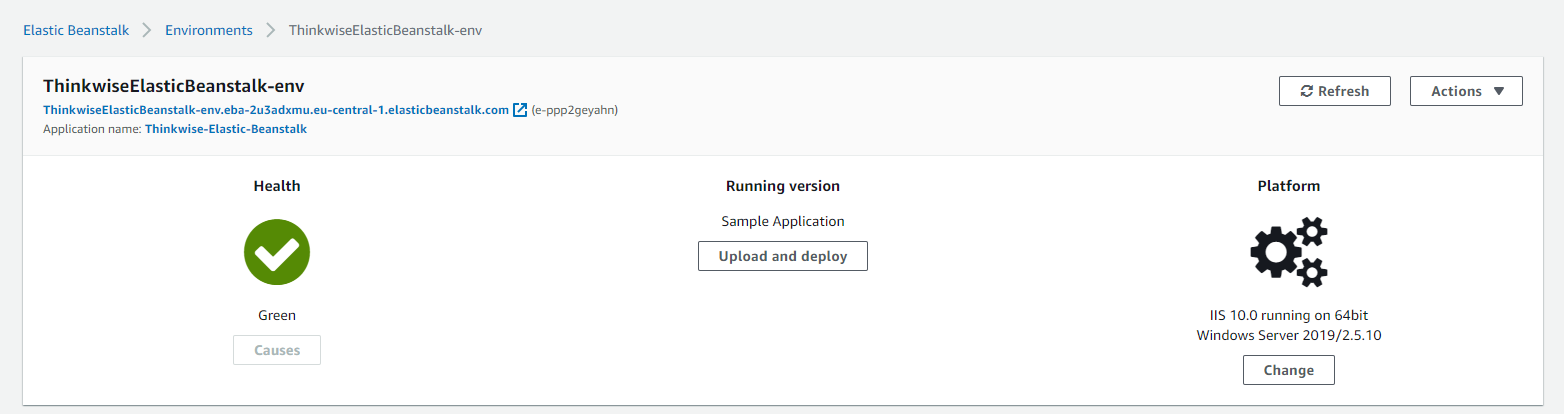
-
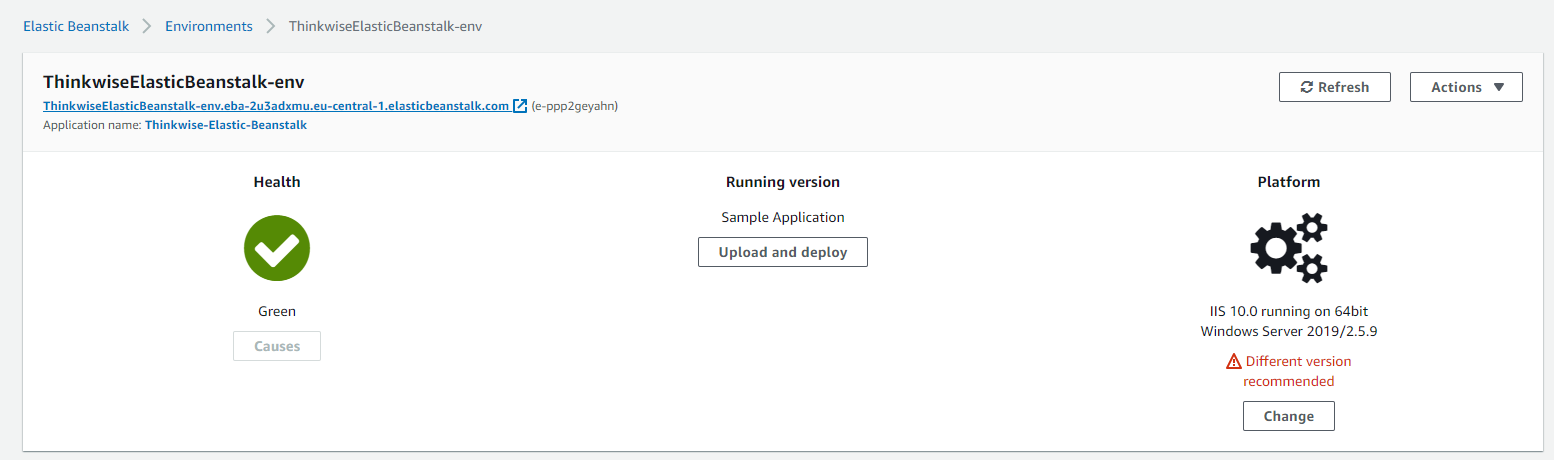
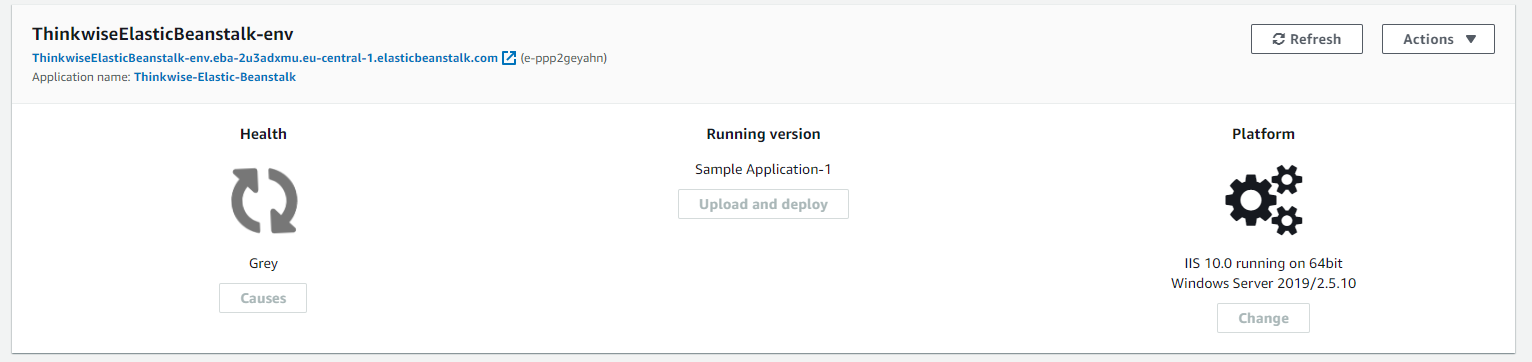
When the environment is created, go to the newly made environment and click the URL displayed below the name.
screenshot: Environment URL
-
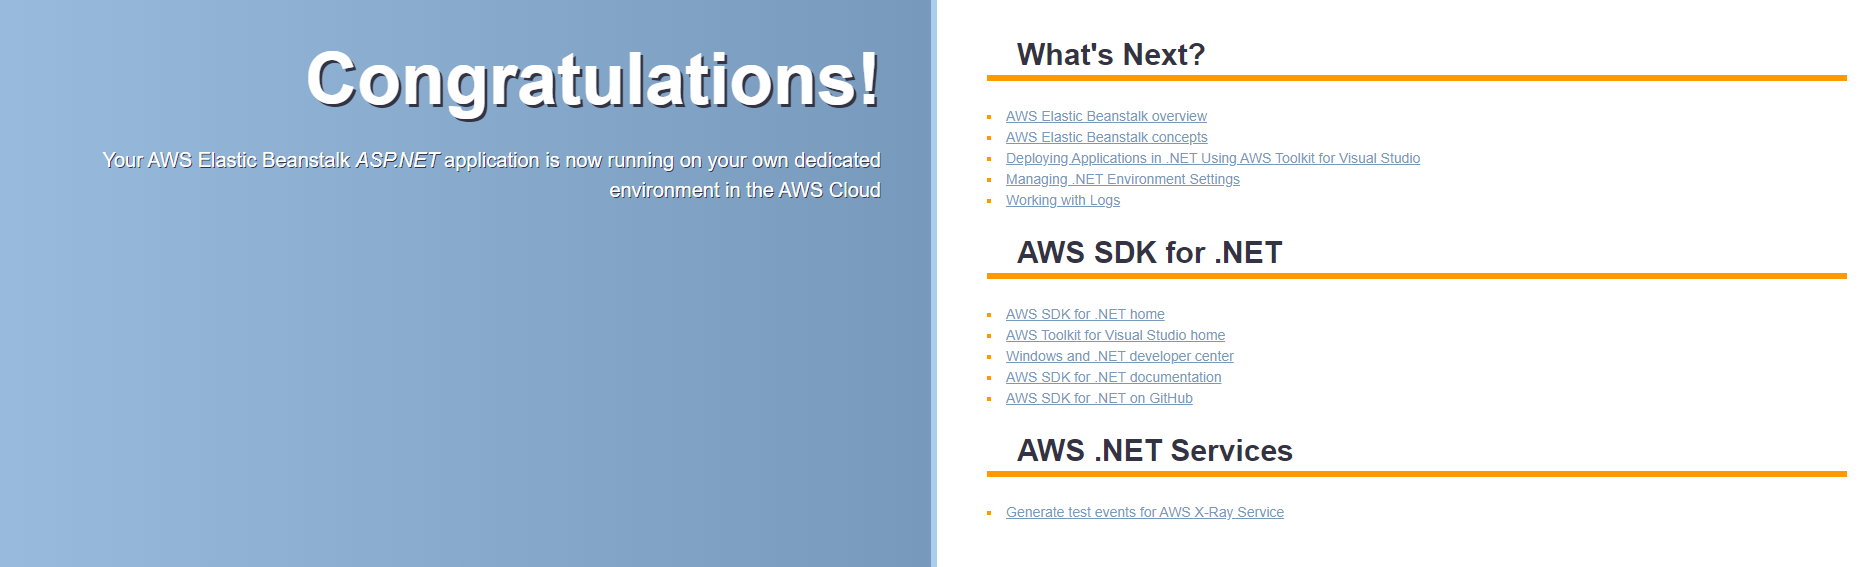
This will open a new browser tab:
screenshot: Application running
The Elastic Beanstalk environment is now ready.
Deploy the Thinkwise Universal GUI and Indicium service tier
For security reasons (to avoid having to enable Cross-Origin Resource Sharing), the Universal GUI and Indicium service tier will be installed in the same environment.
When using Indicium on AWS, encryption keys must be saved in the AWS Secrets Manager. For more information, see: Store encryption keys on AWS.
To install the Thinkwise Universal GUI and Indicium service tier:
-
Download both the Thinkwise Universal GUI and the Indicium service tier from the Thinkwise Community Portal.
-
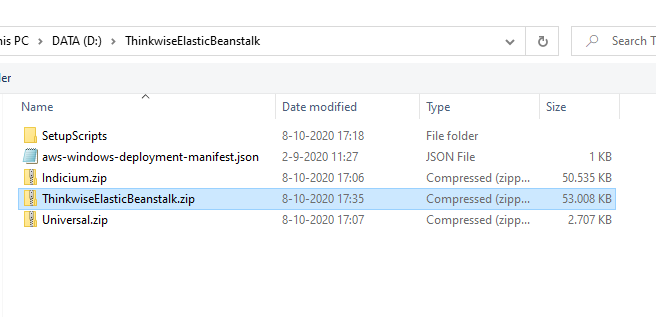
Copy the downloaded zip files to a new folder, for example ThinkwiseElasticBeanstalk.

-
Open
Indicium.zipand edit theappsettings.jsonfile. Fill in theServer,Database(IAM),PoolUserName, andPoolPasswordproperties with the information from the RDS environment.Indicium's appsettings.json file
{
   "Logging": {
      "ApplicationInsights": {
         "LogLevel": {
            "Default": "Information",
            "System": "Information",
            "Microsoft": "Warning",
            "Indicium": "Debug"
         }
      },
      "IncludeScopes": false,
      "LogLevel": {
         "Default": "Information",
         "System": "Information",
         "Microsoft": "Warning",
         "Indicium": "Debug"
      }
   },
   "MetaSourceConnection": {
      "Server": "thinkwisesql.chkw7dln.eu-central-1.rds.amazonaws.com",
      "Database": "IAM_SF",
      "PoolUserName": "admin",
      "PoolPassword": "password"
   }
} -
Open
Universal.zipand edit theconfig.jsonfile. Fill in theserviceUrlwith the information from the Elastic Beanstalk environment and save the file.Universal GUI's config.json file
   {
      "defaultApplication": "",
      "defaultPlatform": 3,
      "loginOptionsDisabled": false,
      "serviceUrl": "https://ThinkwiseElasticBeanstalk-env.ebaadxmu.eu-central-1.elasticbeanstalk.com/indicium/iam/iam"
} -
Add a deployment manifest file to the ThinkwiseElasticBeanstalk folder by creating a new text file named:
aws-windows-deployment-manifest.json -
Add the following code to the file:
Deployment manifest
{
"manifestVersion":  1,
"iisConfig": {
   "appPools": [
      {
      "name": "indicium",
      }
   ]
},
"deployments": {
   "aspNetCoreWeb": [
      {
      "name": "indicium",
      "parameters": {
         "appPool": "indicium",
         "appBundle": "indicium.zip",
         "iisPath": "/indicium"
         }
      },
      {
      "name": "universal",
      "parameters": {
         "appBundle": "universal.zip",
         "iisPath": "/"
      },
         "scripts": {
         "postInstall": {
         "file": "SetupScripts/PostInstallSetup.ps1"
         }
      }
      }
   ]
}
} -
Option - If you want to run multiple instances of Indicium or if you want a separate application pool for your Indicium, add the
iisConfigwith theappPoolsarray to theaws-windows-deployment-manifest.jsonfile. Then, add the name of theappPoolto the application:Deployment manifest with iisConfig
{
   "manifestVersion":  1,
   "iisConfig": {
      "appPools": [
         {
            "name": "INDICIUM"
         }
      ]
   },
   "deployments": {
      "aspNetCoreWeb": [
         {
            "name": "indicium",
            "parameters": {
               "appBundle": "indicium.zip",
               "iisPath": "/indicium",
               "appPool": "INDICIUM"
            }
         },
         {
            "name": "universal",
            "parameters": {
               "appBundle": "universal.zip",
               "iisPath": "/"
            },
            "scripts": {
               "postInstall": {
                  "file": "SetupScripts/PostInstallSetup.ps1"
               }
            }
         }
      ]
   }
} -
Create a new folder in the root with the name:
SetupScripts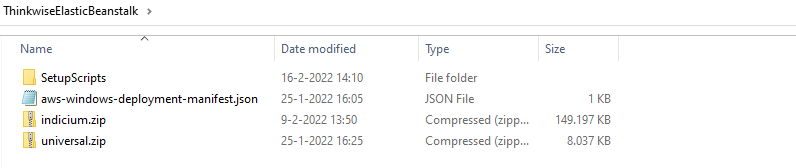
-
In this folder, create a new file named
PostInstallSetup.ps1with the following content:PostInstallSetup.ps1
$IisPath = "indicium"
$ApplicationPoolName = "Indicium"

C:\windows\system32\inetsrv\appcmd.exe stop apppool /apppool.name:"$ApplicationPoolName"
C:\windows\system32\inetsrv\appcmd.exe set config /section:applicationPools /-"[name='$ApplicationPoolName'].recycling.periodicRestart.schedule"
c:\windows\system32\inetsrv\appcmd.exe set config /section:applicationPools "/[name='$ApplicationPoolName'].processModel.idleTimeout:0.00:00:00"
c:\windows\system32\inetsrv\appcmd.exe set config /section:applicationPools "/[name='$ApplicationPoolName'].processModel.loadUserProfile:True"
c:\windows\system32\inetsrv\appcmd.exe set config /section:applicationPools "/[name='$ApplicationPoolName'].startMode:AlwaysRunning"
c:\windows\system32\inetsrv\appcmd.exe set config /section:applicationPools /+"[name='$ApplicationPoolName'].recycling.periodicRestart.schedule.[value='03:00:00']" /commit:apphost

$sharepath = "C:\inetpub\AspNetCoreWebApps\$IisPath"
$Acl = Get-ACL $SharePath
$AccessRule= New-Object System.Security.AccessControl.FileSystemAccessRule("IIS AppPool\$ApplicationPoolName","full","ContainerInherit,Objectinherit","none","Allow")
$Acl.AddAccessRule($AccessRule)
$Acl | Set-Acl $SharePath -
If you have specified multiple instances of Indicium in step 8, copy the JSON and paste it into the same file, as in the example below. This will set all the read and write rights for Indicium.
PostInstallSetup.ps1 with multiple instances
$IisPath = "indicium"
$ApplicationPoolName = "Indicium"

C:\windows\system32\inetsrv\appcmd.exe stop apppool /apppool.name:"$ApplicationPoolName"
C:\windows\system32\inetsrv\appcmd.exe set config /section:applicationPools /-"[name='$ApplicationPoolName'].recycling.periodicRestart.schedule"
c:\windows\system32\inetsrv\appcmd.exe set config /section:applicationPools "/[name='$ApplicationPoolName'].processModel.idleTimeout:0.00:00:00"
c:\windows\system32\inetsrv\appcmd.exe set config /section:applicationPools "/[name='$ApplicationPoolName'].processModel.loadUserProfile:True"
c:\windows\system32\inetsrv\appcmd.exe set config /section:applicationPools "/[name='$ApplicationPoolName'].startMode:AlwaysRunning"
c:\windows\system32\inetsrv\appcmd.exe set config /section:applicationPools /+"[name='$ApplicationPoolName'].recycling.periodicRestart.schedule.[value='03:00:00']" /commit:apphost

$sharepath = "C:\inetpub\AspNetCoreWebApps\$IisPath"
$Acl = Get-ACL $SharePath
$AccessRule= New-Object System.Security.AccessControl.FileSystemAccessRule("IIS AppPool\$ApplicationPoolName","full","ContainerInherit,Objectinherit","none","Allow")
$Acl.AddAccessRule($AccessRule)
$Acl | Set-Acl $SharePath

$IisPath = "Second_Indicium"
$ApplicationPoolName = "Second_Indicium"

C:\windows\system32\inetsrv\appcmd.exe stop apppool /apppool.name:"$ApplicationPoolName"
C:\windows\system32\inetsrv\appcmd.exe set config /section:applicationPools /-"[name='$ApplicationPoolName'].recycling.periodicRestart.schedule"
c:\windows\system32\inetsrv\appcmd.exe set config /section:applicationPools "/[name='$ApplicationPoolName'].processModel.idleTimeout:0.00:00:00"
c:\windows\system32\inetsrv\appcmd.exe set config /section:applicationPools "/[name='$ApplicationPoolName'].processModel.loadUserProfile:True"
c:\windows\system32\inetsrv\appcmd.exe set config /section:applicationPools "/[name='$ApplicationPoolName'].startMode:AlwaysRunning"
c:\windows\system32\inetsrv\appcmd.exe set config /section:applicationPools /+"[name='$ApplicationPoolName'].recycling.periodicRestart.schedule.[value='03:00:00']" /commit:apphost

$sharepath = "C:\inetpub\AspNetCoreWebApps\$IisPath"
$Acl = Get-ACL $SharePath
$AccessRule= New-Object System.Security.AccessControl.FileSystemAccessRule("IIS AppPool\$ApplicationPoolName","full","ContainerInherit,Objectinherit","none","Allow")
$Acl.AddAccessRule($AccessRule)
$Acl | Set-Acl $SharePath
-
Create a zip file from the contents of the ThinkwiseElasticBeanstalk folder to deploy to Elastic Beanstalk: select all files and select Send to > Compressed (zipped) folder from the context menu.
-
From the AWS Elastic Beanstalk environment, select Upload and deploy
screenshot: Upload and deploy
- Click Choose file and select the created zip file:
screenshots: Choose file
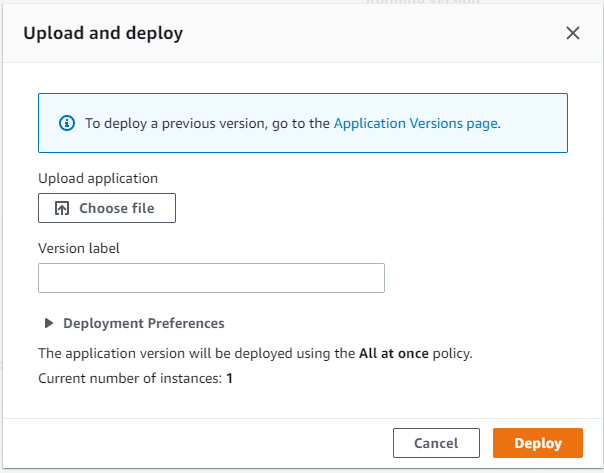
- Click Deploy and wait for the deployment to finish:
The Thinkwise Universal GUI and Indicium service tier are now up and running.
screenshot: Universal GUI and Indicium up and running
Log to AWS CloudWatch
IndiciumWhen running Indicium on AWS, you can log to AWS CloudWatch. This AWS functionality makes it easier to monitor the behavior and performance of your Indicium instance. For example, you can show the logs on your AWS dashboard or create an alarm based on a log pattern.
To enable AWS CloudWatch, add the following code to the appsettings.json configuration file, under the "Logging" section:
   "AWSCloudWatch": {
      "LogGroup": "indicium-tst"
   }
To get access to AWS CloudWatch, your EC2 instance needs to have the following policy attached to it:
{
    "Version": "2012-10-17",
    "Statement": [
        {
            "Sid": "VisualEditor0",
            "Effect": "Allow",
            "Action": "logs:DescribeLogGroups",
            "Resource": "*"
        },
        {
            "Sid": "VisualEditor1",
            "Effect": "Allow",
            "Action": [
                "logs:CreateLogStream",
                "logs:CreateLogGroup",
                "logs:PutLogEvents"
            ],
            "Resource": "arn:aws:logs:<aws-region>:<account-number>:log-group:indicium-tst:*"
        }
    ]
}
In this code fragment, replace indicium-tst with the name of your log group in appsettings.json and specify your account-number and aws-region.
To add the logs to your AWS CloudWatch Dashboard:
-
Open the AWS console.
-
Open the AWS CloudWatch dashboard.
-
Click Add widget.
-
Select Logs table.
-
In Logs Insights, select Log group. This is the name of the log group in
appsettings.json. -
Add the following query to the log to show, for example, the last 20 items:
fields @timestamp, @message
| sort @timestamp desc
| limit 20 -
Click Create widget to show your logs on the dashboard.